
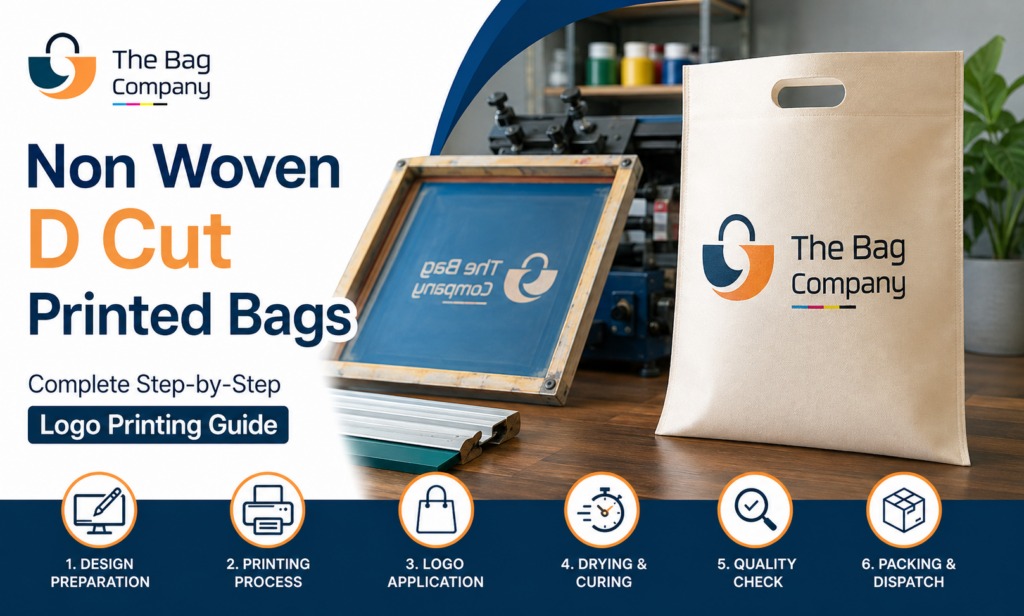
Non Woven D Cut Printed Bags: Complete Step-by-Step Logo Printing Guide
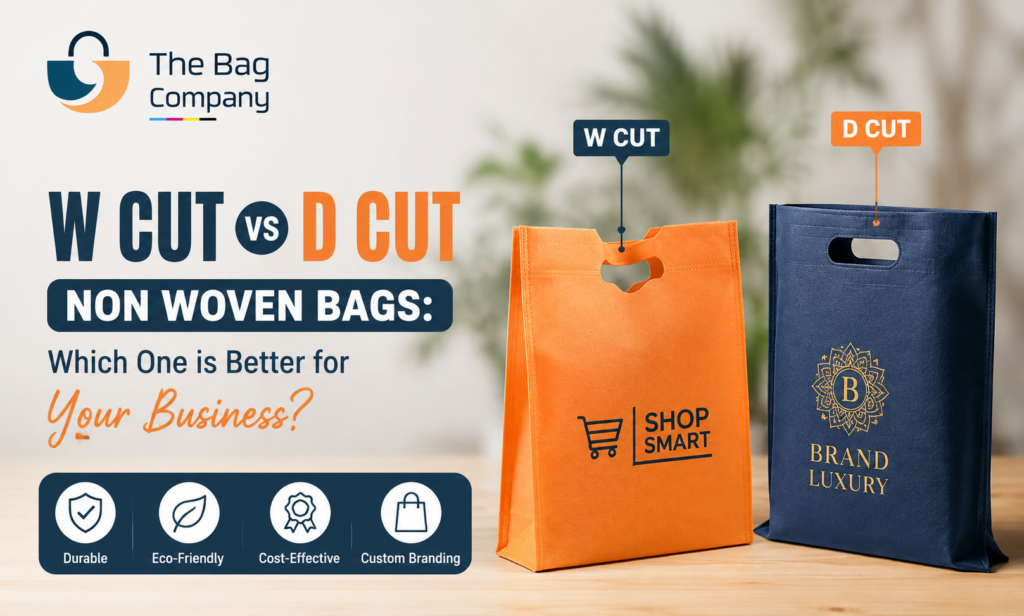
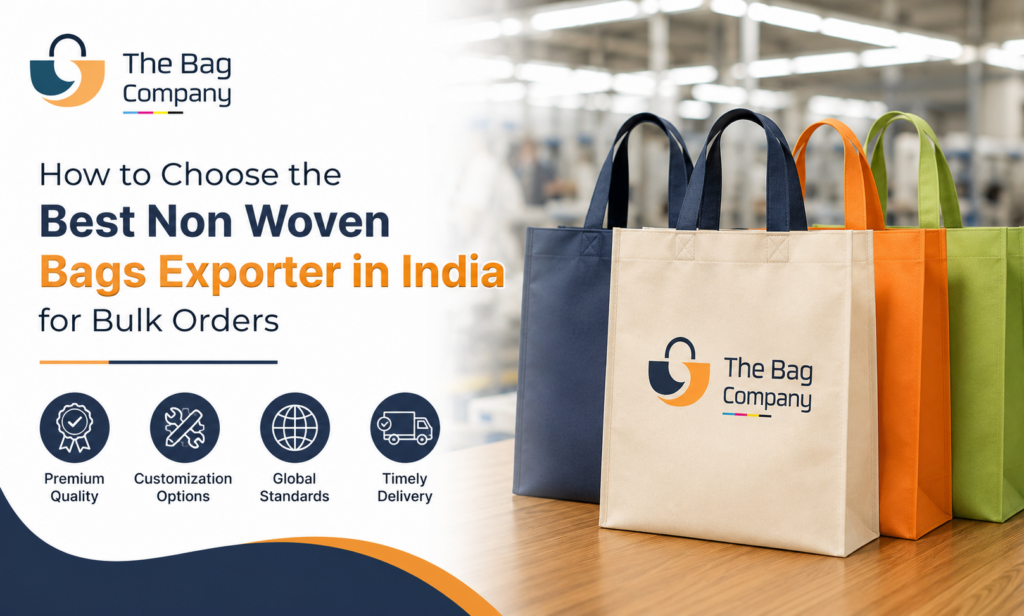
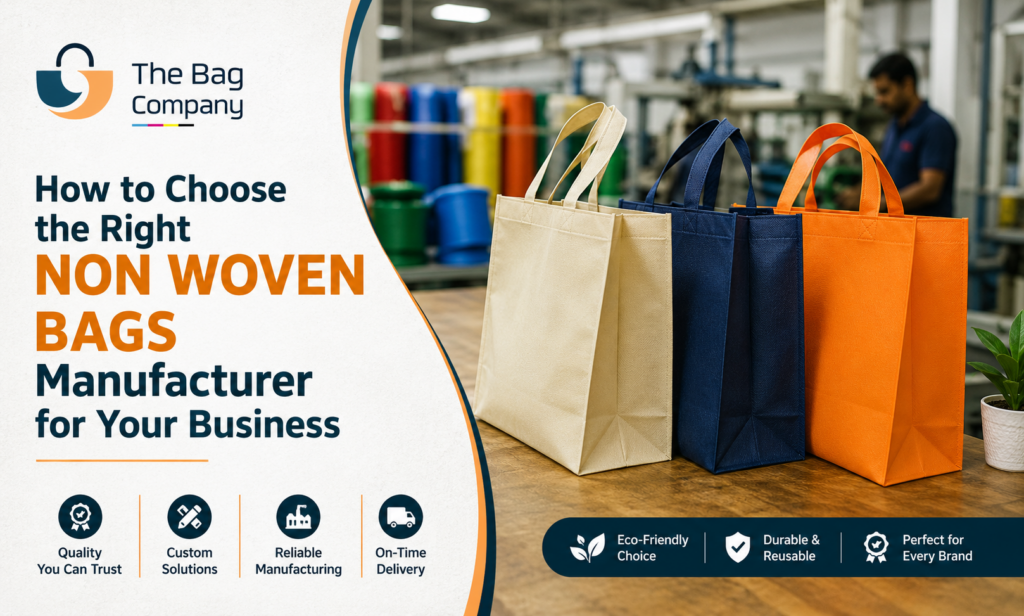
Brand visibility plays a significant role in product packaging and customer perception. Businesses across retail, exhibitions, food services, apparel, gifting, healthcare, and promotional campaigns rely on packaging that is practical while reinforcing their brand identity. Among the many options available, Non Woven D Cut Printed Bags have become a preferred choice because they combine durability, affordability, and attractive branding opportunities. A professionally printed bag does much more than carry products. It acts as a moving advertisement, helping businesses gain exposure wherever customers travel. However, achieving a clean, vibrant, and long-lasting logo requires careful planning, proper material selection, and the right printing process. This page explains every stage involved in logo printing, from artwork preparation to quality inspection, allowing businesses to make informed decisions before placing bulk orders. At The Bag Company, every production stage focuses on precision, consistency, and print quality to ensure bags reflect a professional brand image. Why Logo Printing Matters on Non Woven Bags Every printed shopping bag becomes an extension of a company’s marketing strategy. Unlike disposable packaging, reusable bags continue promoting a business long after the initial purchase. Well-designed Non Woven D Cut Printed Bags offer several branding advantages: Improve brand recognition Create a professional business image Increase customer recall Encourage repeated exposure Support promotional campaigns Provide cost-effective advertising Enhance product presentation Since customers reuse these bags multiple times, the printed logo reaches a wider audience without additional marketing expenses. What Are Non Woven D Cut Printed Bags? These bags are manufactured using non-woven polypropylene fabric that is bonded together without traditional weaving methods. The D-shaped die-cut handle provides a comfortable grip while maintaining an attractive appearance. Their combination of strength and lightweight construction makes them suitable for: Retail shopping Fashion stores Grocery outlets Medical stores Corporate gifting Trade exhibitions Promotional events Educational institutions Jewellery packaging Cosmetic packaging The smooth surface also makes them highly suitable for different printing techniques. Step 1: Define the Branding Objective Every successful printing project starts with a clear branding objective. Businesses should identify: Primary target audience Logo placement Brand colours Promotional message Contact information QR codes Social media handles Website address The overall purpose determines the printing layout and design approach. For example: Retail stores often prioritize large logos. Event organizers may focus on sponsor branding. Corporate companies often prefer minimalistic designs. Step 2: Select the Right Bag Size Printing quality depends partly on selecting the appropriate bag dimensions. Popular sizes include: Bag Size Common Usage Small Jewellery, cosmetics Medium Apparel, books Large Grocery, exhibitions Extra Large Promotional kits Larger bags allow bigger logos and additional marketing information. Step 3: Choose the Fabric GSM The thickness of non woven fabric affects both durability and print appearance. Common GSM options include: 60 GSM 70 GSM 80 GSM 90 GSM 100 GSM 120 GSM Higher GSM provides: Better durability Improved print stability Reduced stretching Enhanced premium appearance The fabric selection should match the intended application. Step 4: Prepare High-Resolution Artwork Artwork preparation is one of the most important stages. Poor-quality artwork leads to: Blurred logos Pixelated graphics Colour inconsistencies Poor alignment Professional artwork should include: Vector files High-resolution graphics CMYK colour format Correct dimensions Proper spacing Clear fonts Preferred file formats include: AI EPS PDF SVG Vector artwork ensures sharp printing regardless of logo size. Step 5: Finalize Brand Colours Colour accuracy directly influences brand consistency. Businesses should provide: Pantone colour references CMYK values RGB references (if required) Existing brand guidelines Maintaining colour consistency across multiple production batches strengthens brand recognition. Step 6: Select the Appropriate Printing Method Different printing methods produce different results. The right option depends on: Quantity Artwork complexity Colour count Budget Production timeline Screen Printing Ideal for: Bulk production Solid colours Large logos Advantages include: Sharp printing Excellent durability Cost efficiency Consistent colour application Flexographic Printing Suitable for: Large production volumes Simple graphics Fast production It offers consistent results with lower production costs. Offset Printing Offset printing is often selected when businesses require: Multi-colour graphics High-definition images Detailed artwork Premium branding Digital Printing Digital printing works well for: Small production runs Personalized designs Variable data Quick sampling It provides flexibility while maintaining excellent image quality. Step 7: Print Layout Approval Before production begins, manufacturers prepare a digital proof. This approval stage confirms: Logo placement Colour accuracy Font size Spacing Alignment Printing dimensions Any corrections should be completed before mass production starts. Step 8: Prepare Printing Screens or Plates Depending on the selected printing method, production teams prepare: Screen frames Printing plates Ink rollers Digital setup Accurate setup minimizes production errors and improves consistency. Step 9: Ink Selection Choosing suitable ink significantly affects durability. High-quality printing inks provide: Better adhesion Fade resistance Sharp colours Scratch resistance Improved longevity The selected ink should be compatible with non woven polypropylene fabric. Step 10: Surface Preparation Before printing begins, the fabric surface is inspected for: Dust Moisture Oil residue Manufacturing defects A clean surface improves ink adhesion and overall print quality. Step 11: Printing Process Once preparation is complete, printing begins. Each bag passes through controlled printing equipment where the logo is transferred carefully onto the fabric. Machine operators continuously monitor: Ink flow Registration Colour density Alignment Pressure Consistent monitoring prevents printing defects. Step 12: Drying and Curing Freshly printed bags require proper drying. This stage allows ink to bond securely with the fabric. Proper curing helps prevent: Smudging Colour transfer Peeling Surface damage Controlled drying conditions contribute to long-lasting print quality. Step 13: Handle and Bag Inspection After printing, every production batch undergoes inspection. Checks include: Handle strength Stitch quality Bag dimensions Fabric finish Print placement This stage ensures both functionality and visual appeal. Step 14: Quality Control Quality inspection covers several important areas. Colour Consistency Every production batch should maintain identical colours. Registration Accuracy Multi-colour designs require perfect alignment. Print Adhesion The printed logo should remain intact during regular use. Fabric Inspection Manufacturers examine: Surface defects Wrinkles Tears Contamination Overall Appearance Every bag should present a professional finish before packaging. Step 15: Packaging and Dispatch Finished bags are: